Tutorial
Donorbox Tutorial: How to Set Up Online Donations and Launch Your First Fundraising Campaign
Deals Stacks
Donorbox Tutorial: How to Set Up Online Donations
Online fundraising doesn’t have to be complicated. With the right tools, a nonprofit can create a donation page, accept online payments, encourage recurring giving, and manage donor information without building a fundraising system from scratch.
Donorbox is designed specifically for nonprofits, charities, churches, schools, and other organizations that want to collect donations online.
In this tutorial, we’ll walk through the process of setting up Donorbox and launching your first online fundraising campaign.
Step 1: Create Your Donorbox Account
Start by creating an account on Donorbox.
During setup, provide the basic information about your organization and fundraising activities.
You’ll typically need information such as:
Organization name
Organization details
Contact information
Fundraising purpose
Payment information
Once your account is created, you’ll be able to access your fundraising dashboard.
Step 2: Set Up Your Organization
Complete your organization profile before creating your first campaign.
Add important details such as:
Organization Name
Logo
Website
Description
Contact Information
A complete organization profile helps donors understand who is collecting the donation and why.
Step 3: Connect Your Payment Account
Before accepting real donations, connect an available payment processor to your Donorbox account.
Payment processing allows donors to submit their contributions online.
Depending on your location and configuration, available payment methods can include options such as:
Credit and debit cards
Digital wallets
Bank-based payment methods
Review the available payment options and applicable processing fees before launching.
Step 4: Create Your First Donation Form
Now create a donation form.
Choose the option to create a new donation form and give it a meaningful name.
For example:
General Fund Donation Form
or
Education Program Fundraiser
The form should match the purpose of your fundraising campaign.
Step 5: Set Your Donation Amounts
Choose the donation amounts you want to display.
For example:
$10
$25
$50
$100
Custom Amount
Providing suggested amounts makes the donation process easier while still allowing donors to choose their own contribution.
Step 6: Enable Recurring Donations
If your organization wants recurring contributions, enable recurring donation options.
You can encourage supporters to contribute regularly instead of making only a one-time donation.
For example:
One-Time Donation
Monthly Donation
Annual Donation
Recurring giving can help organizations develop more predictable fundraising revenue.
Step 7: Customize Your Donation Form
Customize the form to match your organization’s branding.
You can adjust elements such as:
Colors
Logo
Donation amounts
Text
Campaign information
Giving options
Keep the form simple.
A donor should be able to understand what the organization does and how to make a contribution without unnecessary distractions.
Step 8: Add a Fundraising Story
Your fundraising page should explain why people should donate.
Instead of simply saying:
“Please donate.”
Explain the purpose of the campaign.
For example:
“Help provide educational resources to children in underserved communities.”
Then explain:
What the organization is doing
Why the problem matters
How donations will help
What the fundraising goal is
What impact supporters can make
A clear story can make your campaign more meaningful.
Step 9: Set a Fundraising Goal
Give your campaign a clear target.
For example:
Goal: $20,000
Then explain what reaching that goal will accomplish.
You could divide the goal into specific outcomes:
$5,000 → Educational Materials
$10,000 → Community Programs
$20,000 → Full Project
This gives donors a better understanding of the campaign’s purpose.
Step 10: Create Your Fundraising Page
Once your donation form is configured, create the associated fundraising page if your campaign requires one.
Add:
Campaign title
Description
Images
Fundraising goal
Donation form
Impact information
Your page should answer three questions quickly:
What are you raising money for?
Why does it matter?
How can I help?
Step 11: Add the Donation Form to Your Website
One of Donorbox’s useful features is the ability to integrate donation forms with an existing website.
Your organization can place the donation experience where website visitors are already learning about your work.
A typical journey is:
Website → Fundraising Page → Donation Form → Payment → Confirmation
Place the donation option somewhere easy to find.
Good locations can include:
Homepage
Navigation menu
Campaign pages
Footer
Blog posts
Event pages
Step 12: Create a Dedicated Donate Page
If your organization doesn’t already have one, create a dedicated Donate page.
The page should include:
Donation form
Campaign information
Organization description
Impact information
Recurring giving option
Contact information
Keep the page focused on conversion.
Step 13: Configure Donor Information
Decide what information you need to collect from donors.
Depending on your organization’s requirements, this could include:
Name
Email address
Address
Donation amount
Donation frequency
Additional comments
Avoid requesting unnecessary information.
A shorter form can make the donation process easier.
Step 14: Set Up Donation Notifications
Configure appropriate notifications so your organization can keep track of incoming donations.
You may also want donors to receive confirmation and thank-you messages after contributing.
A basic workflow is:
Donation → Confirmation → Thank You → Donor Record
This creates a better experience for supporters.
Step 15: Create a Thank-You Message
Don’t overlook the thank-you experience.
After someone donates, thank them and explain the impact of their contribution.
For example:
“Thank you for supporting our education program. Your contribution helps us provide learning resources to students who need them most.”
Keep the message genuine and connected to the campaign.
Step 16: Test the Donation Process
Before sharing your campaign publicly, test the entire donation experience.
Check:
Donation form
Donation amounts
Recurring options
Payment processing
Confirmation
Email notifications
Donor records
Mobile experience
Don’t launch until you’re confident that the complete process works correctly.
Step 17: Test on Mobile
A large percentage of people may discover your fundraising campaign through their phones.
Open your donation page on a smartphone.
Check:
Text size
Buttons
Form fields
Images
Page loading
Payment experience
Navigation
The donation process should be easy to complete on a small screen.
Step 18: Launch Your Fundraising Campaign
Once everything has been tested, publish your campaign.
Now you can begin promoting it through your organization’s existing channels.
A simple launch strategy is:
Website → Email → Social Media → Supporter Network
Don’t rely on only one channel.
Step 19: Promote Your Campaign on Social Media
Share your campaign across relevant social networks.
Instead of repeatedly posting only a donation link, create different types of content.
For example:
Post 1 — Problem
Explain the problem your organization is addressing.
Post 2 — Story
Share a real example of the impact.
Post 3 — Progress
Show how much you’ve raised.
Post 4 — Impact
Explain what donations have already accomplished.
Post 5 — Final Push
Create urgency as the campaign approaches its deadline.
Step 20: Use Email Fundraising
Email can be one of the most effective channels for reaching existing supporters.
A simple sequence could be:
Email 1 → Campaign Launch
Email 2 → Why It Matters
Email 3 → Progress Update
Email 4 → Impact Story
Email 5 → Final Reminder
Make each email useful rather than sending the same message repeatedly.
Step 21: Encourage Recurring Donors
When promoting your campaign, explain why recurring donations are valuable.
For example:
$15 every month
may be easier for some supporters than:
$180 today
The recurring option can help your organization build a longer-term supporter base.
Step 22: Create a Peer-to-Peer Campaign
If your organization wants to expand its reach, consider peer-to-peer fundraising.
Supporters can create their own fundraising pages and ask their personal networks to contribute.
The process becomes:
Organization → Supporter → Personal Campaign → Network → Donations
This can help a campaign reach people who aren’t already connected to the organization.
Step 23: Use Fundraising Events
Donorbox can also support fundraising around events.
An organization can use event fundraising for activities such as:
Charity events
Community gatherings
Fundraising dinners
School events
Church events
Online events
Combine event participation with donation opportunities to increase fundraising potential.
Step 24: Manage Donor Information
As donations arrive, use the donor-management functionality to organize supporter information.
Review information such as:
Donation history
Donation frequency
Campaign participation
Recurring contributions
This can help your team understand supporter behavior.
Step 25: Segment Your Donors
Not every donor should receive the same message.
You can think about supporters in groups such as:
First-Time Donors
Recurring Donors
Major Donors
Event Supporters
Past Donors
Different segments can receive more relevant communications.
Step 26: Thank Donors Regularly
Donor retention is important.
Don’t communicate with supporters only when you need money.
Send updates about:
Project progress
Success stories
Community impact
New initiatives
Campaign results
This helps build a stronger relationship.
Step 27: Track Fundraising Performance
Review your fundraising data regularly.
Important metrics may include:
Total donations
Number of donors
Average donation
Recurring donation revenue
Campaign progress
Donor retention
Donation conversion
Use these numbers to determine what is working.
Step 28: Improve Your Donation Form
If many people visit the donation page but relatively few complete the donation, review the experience.
Possible improvements include:
Simplifying the form
Reducing unnecessary fields
Making donation amounts clearer
Improving mobile design
Explaining recurring giving
Strengthening the campaign message
Small improvements can make the donation journey easier.
Step 29: Connect Other Tools
As your organization grows, you may want to connect Donorbox with other systems.
Depending on your workflow, this could include:
CRM
Email marketing
Accounting
Analytics
Automation
Integrations can reduce repetitive administrative work.
Step 30: Build an Automated Fundraising Workflow
A more advanced workflow could look like:
New Donation
↓
Donor Information Recorded
↓
Thank-You Message Sent
↓
Campaign Data Updated
↓
Donor Added to Appropriate Segment
↓
Future Impact Updates
This reduces manual work and allows your fundraising team to focus on campaigns and donor relationships.
Step 31: Use Donorbox for Different Campaigns
You don’t need to use one donation form for everything.
Create separate campaigns for different fundraising goals.
For example:
Emergency Fund
Education Program
Medical Support
Community Development
Annual Giving
Separate campaigns make it easier to communicate specific goals and measure results.
Step 32: Review Your Campaign Results
After your campaign ends, review what happened.
Ask:
How many people donated?
Which channel produced the most donors?
How many became recurring donors?
Which campaign message performed best?
What was the average donation?
How many previous donors returned?
Use these insights to improve your next campaign.
Donorbox Tutorial: Best Practices
Keep the Donation Process Simple
Don’t make donors navigate through unnecessary pages.
Tell a Strong Story
Explain the human impact behind the fundraising goal.
Make Recurring Giving Visible
Give supporters a clear recurring option.
Use Real Images
Authentic campaign images can make fundraising pages more relatable.
Show Progress
Let supporters see how the campaign is progressing.
Thank Supporters
A donation should begin a relationship, not end one.
Promote Consistently
Use your website, email, social media, and supporter networks.
Common Donorbox Setup Mistakes
Launching Without Testing
Always test the complete donation journey.
Asking for Too Much Information
Only request information you actually need.
Making the Campaign Too General
Specific campaigns often communicate their purpose more clearly.
Ignoring Mobile Users
Check every donation page on smartphones.
Forgetting Recurring Giving
Recurring donations can be an important part of long-term fundraising.
Not Following Up
Donors should hear about the impact of their contribution after donating.
Example Donorbox Campaign
Imagine a nonprofit wants to raise $30,000 for a community education project.
The organization could create:
Campaign Name: Help 500 Students Learn
Goal: $30,000
Donation Options: $10, $25, $50, $100, Custom
Recurring Option: Monthly
Donation Page: Campaign Story + Donation Form
Promotion: Website + Email + Social Media
Follow-Up: Thank-You + Monthly Impact Updates
The complete workflow would be:
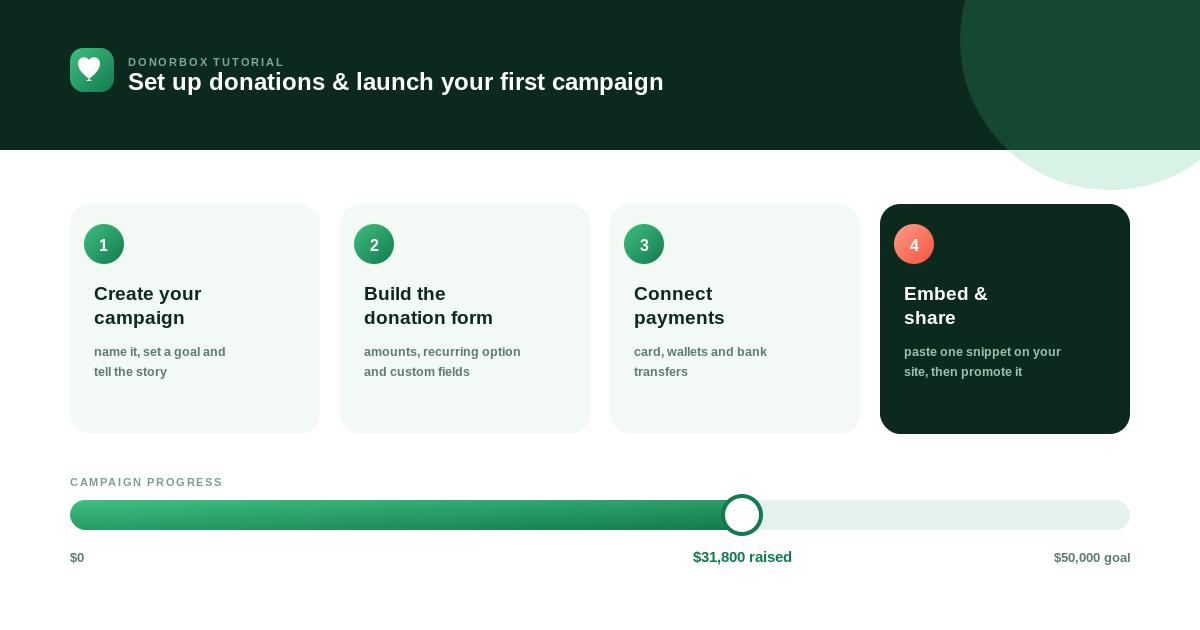
Create Campaign → Build Form → Connect Payments → Test → Publish → Promote → Receive Donations → Thank Donors → Track Results
Final Thoughts
Donorbox gives nonprofits a practical way to build an online fundraising system without creating every component themselves.
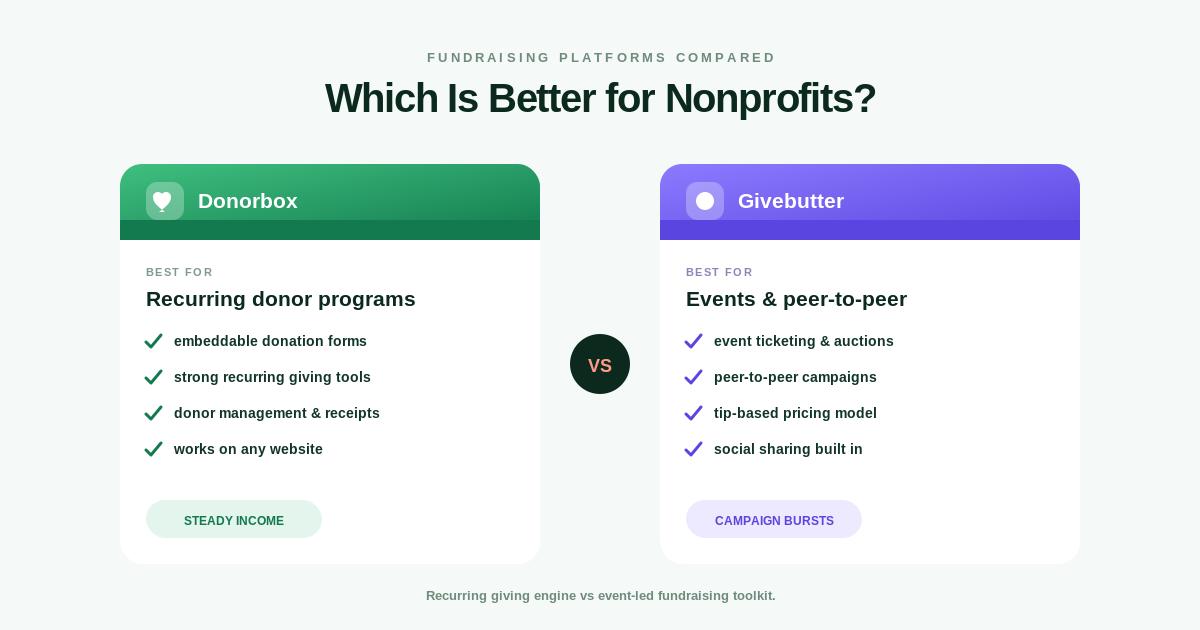
You can use it to create donation forms, accept one-time and recurring contributions, build fundraising campaigns, manage donor information, support events and peer-to-peer fundraising, and connect fundraising activities with other tools.
The best approach is to start with a focused campaign, create a simple donation experience, test everything carefully, and then promote the campaign across multiple channels.
The complete process is:
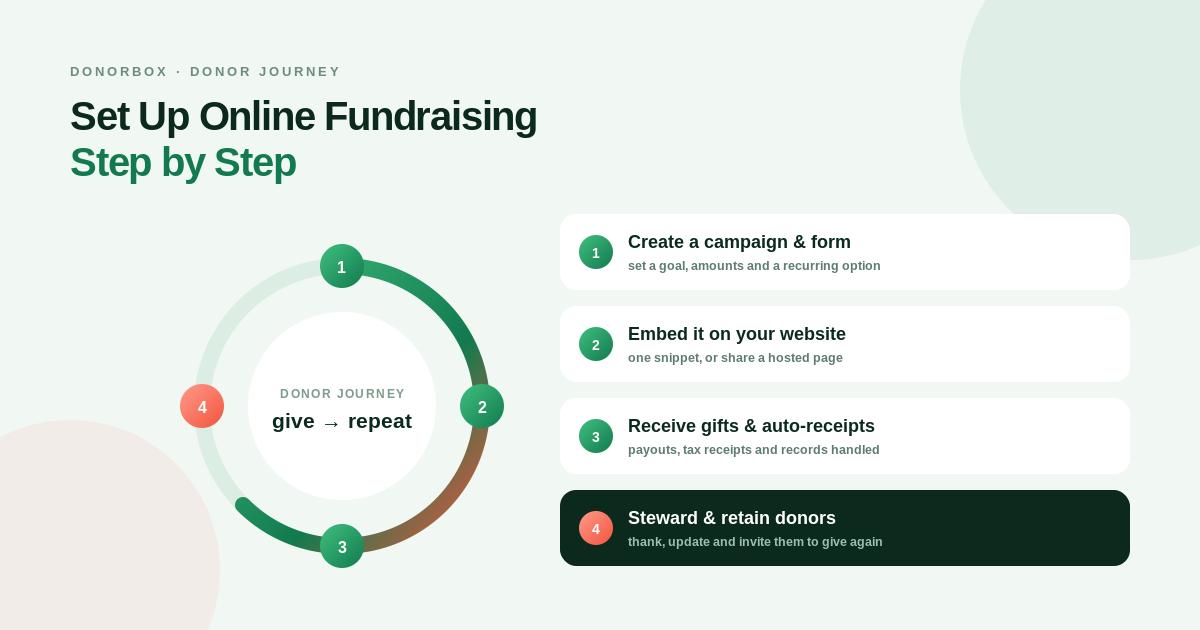
Create Account → Set Up Organization → Connect Payments → Create Donation Form → Customize → Enable Recurring Giving → Build Campaign → Add to Website → Test → Launch → Promote → Manage Donors → Analyze Results
With a consistent fundraising strategy and a strong donor experience, Donorbox can become an important part of a nonprofit’s digital fundraising workflow.