Tutorial
GetResponse Tutorial: How to Create Your First Email Marketing Campaign
Deals Stacks

GetResponse Tutorial: How to Create Your First Email Marketing Campaign
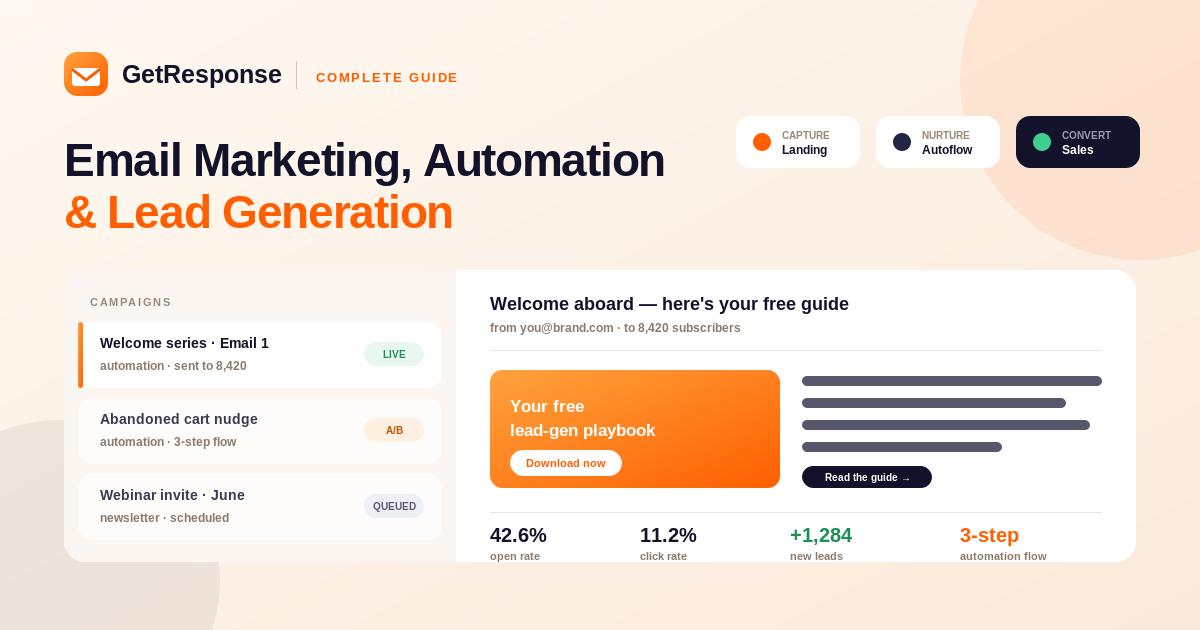
GetResponse is an all-in-one marketing platform that helps businesses create email campaigns, automate customer communication, build landing pages, generate leads, and track marketing performance.
If you’re new to GetResponse, the number of available features can seem overwhelming. The easiest way to learn the platform is to start with a simple email marketing campaign and gradually add automation and other tools.
This tutorial explains how to set up GetResponse and create your first campaign step by step.
Step 1: Create Your GetResponse Account
Start by creating a GetResponse account.
After signing in, you’ll access the main dashboard where you can manage:
Contacts
Email marketing
Automation
Landing pages
Forms
Funnels
Webinars
Analytics
Complete your basic account information before creating your first campaign.
Step 2: Create a Contact List
Your email campaign needs an audience.
Open the Contacts section and create a new list.
Give your list a clear name, such as:
Newsletter Subscribers
or
Product Leads
You can then add contacts manually or import an existing subscriber list.
Only add people who have given appropriate permission to receive your marketing emails.
Step 3: Organize Your Contacts
Keep your contact database organized from the beginning.
You can use information such as:
Name
Email address
Location
Interests
Customer status
Signup source
This information can later help you create targeted campaigns.
Step 4: Create Your First Email
Go to the email marketing section and start creating a new newsletter or email campaign.
Add:
Sender name
Sender email
Subject line
Preview text
Your sender name should be recognizable so subscribers know who the email is from.
Step 5: Choose an Email Template
GetResponse provides email templates that can help you create professional campaigns without designing everything from scratch.
Choose a template that matches your purpose.
For example:
Newsletter → Newsletter template
Product promotion → Promotional template
Event invitation → Event template
Step 6: Customize the Email
Use the visual editor to customize your message.
You can add:
Headings
Text
Images
Buttons
Videos
Social links
Calls to action
Keep the email focused on one main goal.
For example:
“Download the Free Guide”
or
“Shop the New Collection”
Step 7: Write a Strong Subject Line
The subject line is one of the first things subscribers see.
Keep it clear and relevant.
Examples:
Get 20% Off Your First Order
5 Marketing Tips You Can Use Today
Your Free Guide Is Ready
Avoid misleading or overly promotional subject lines.
Step 8: Preview Your Email
Before sending the campaign, preview it.
Check:
Spelling
Images
Links
Buttons
Formatting
Mobile appearance
Personalization
Send yourself a test email before sending the campaign to your full list.
Step 9: Send or Schedule the Campaign
Once everything looks correct, choose whether to:
Send Now
or
Schedule for Later
Scheduling can help you plan campaigns in advance.
Step 10: Create a Landing Page
GetResponse also allows you to create landing pages.
A basic lead-generation landing page can include:
Headline → Benefits → Signup Form → Call to Action
For example:
“Download Our Free Email Marketing Guide”
Add a form so visitors can enter their email address.
Step 11: Connect Your Landing Page to Your List
Make sure the landing-page form sends new subscribers to the correct contact list.
For example:
Landing Page → Newsletter Leads
This means every new signup can automatically enter your marketing database.
Step 12: Create an Automation Workflow
Now you can automate your communication.
A simple workflow could be:
New Subscriber → Welcome Email → Wait 2 Days → Educational Email → Wait 3 Days → Product Offer
This means you don’t need to manually send every email.
Example Welcome Automation
Email 1 — Immediately
Subject: Welcome to Our Community
Thank the subscriber for signing up and explain what they can expect.
Email 2 — After 2 Days
Share useful educational content.
Email 3 — After 3 Days
Introduce your product or service.
Email 4 — After 4 Days
Send a special offer or another useful resource.
Step 13: Add Conditions to Your Automation
You can make your workflow more personalized by responding to subscriber behavior.
For example:
Subscriber receives email → Subscriber clicks link → Send product email
But:
Subscriber receives email → Subscriber doesn’t click → Send educational email
This makes automation more relevant to individual subscribers.
Step 14: Create Segments
Instead of sending every email to everyone, create targeted segments.
For example:
New subscribers
Active customers
Interested leads
Inactive subscribers
Product-specific customers
Segmentation can improve the relevance of your campaigns.
Step 15: Track Campaign Performance
After sending your campaign, review its performance.
Important metrics can include:
Opens
Clicks
Conversions
Subscriber activity
Unsubscribes
Use this information to understand what your audience responds to.
Step 16: Improve Your Next Campaign
Don’t stop after your first email.
Compare campaigns and identify:
Which subject lines performed best
Which links received the most clicks
Which content generated conversions
Which subscribers engaged most
Which campaigns underperformed
Use those insights to improve your future emails.
Simple GetResponse Workflow
A beginner-friendly marketing workflow can look like this:
Landing Page
↓
Signup Form
↓
Contact List
↓
Welcome Email
↓
Automated Email Sequence
↓
Product/Service Offer
↓
Conversion
↓
Follow-Up
Best Practices
Keep Emails Simple
Don’t overload subscribers with too much information.
Use Clear CTAs
Tell readers exactly what you want them to do.
Segment Your Audience
Send relevant content to the right people.
Test Before Sending
Always check links, images, formatting, and personalization.
Monitor Performance
Use analytics to improve future campaigns.
Don’t Over-Send
Too many emails can lead to unsubscribes.
Common Mistakes to Avoid
Importing contacts without appropriate permission.
Sending emails without testing them.
Using unclear subject lines.
Adding too many calls to action.
Ignoring mobile formatting.
Sending the same message to every subscriber.
Creating complicated automation too early.
Not reviewing campaign analytics.
Frequently Asked Questions
Is GetResponse good for beginners?
Yes. Its visual campaign and automation tools make it possible to start with basic email marketing and gradually introduce more advanced features.
Can I automate emails in GetResponse?
Yes. You can create automated workflows based on subscriber actions and conditions.
Can I create landing pages?
Yes. GetResponse includes landing-page creation tools that can be connected to forms and email campaigns.
Can I import contacts?
Yes. GetResponse supports adding and importing contacts, subject to its policies and requirements.
Can I track email performance?
Yes. GetResponse provides campaign analytics that help you understand engagement and conversions.
Conclusion
GetResponse provides a straightforward way to build an email marketing workflow from the ground up.
For beginners, start with a contact list and one email campaign. Once you’re comfortable, add landing pages, automation, segmentation, and analytics.
A simple workflow such as:
Capture Lead → Send Welcome Email → Nurture → Promote → Track Results
can become the foundation of a complete marketing strategy.
The key is to start simple, test your campaigns, learn from your analytics, and gradually build more personalized automation as your audience grows.