How-to
How to Use Make: A Step-by-Step Guide to Creating Automations
Deals Stacks

How to Use Make
Make is a visual automation platform that allows users to connect different applications and automate repetitive tasks. Instead of manually transferring information between apps, you can create a workflow that performs those actions automatically.
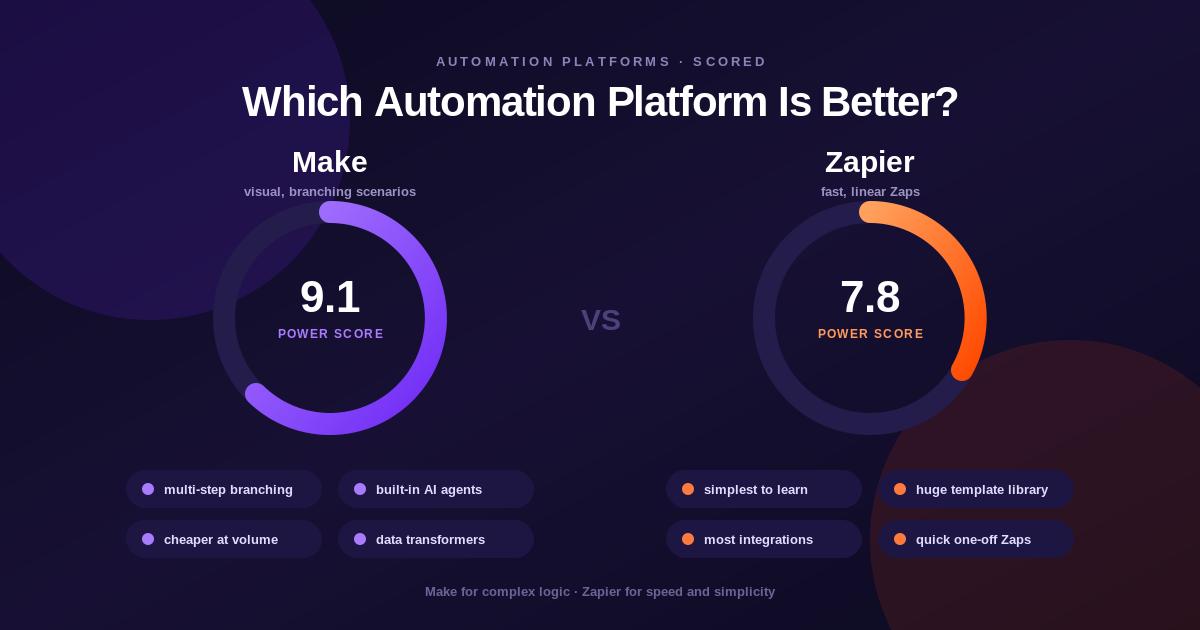
Make supports thousands of integrations and provides tools such as filters, routers, webhooks, APIs, AI automation, and AI Agents for building more advanced workflows.
Step 1: Create a Make Account
Visit the official Make website and create an account.
Make provides a Free plan, so you can start experimenting with automation without immediately choosing a paid subscription.
Once you’re signed in, you’ll access your Make workspace.
Step 2: Create a New Scenario
In Make, automations are created using scenarios.
Create a new scenario from your dashboard and open the visual scenario builder.
A scenario is essentially a workflow that tells Make what should happen automatically.
Step 3: Choose a Trigger
The first step is to select an event that starts your automation.
For example:
New Form Submission
Other triggers can include:
New customer
New order
New email
New spreadsheet row
Scheduled event
Webhook
The available triggers depend on the application you’re using.
Step 4: Connect Your App
Choose the application that will provide the information.
For example, you could connect Google Sheets and select a module that watches for new rows.
Make will ask you to authorize the application before it can access the required information.
Step 5: Configure the Trigger
Select the relevant account, file, database, or other required settings.
For example:
Google Sheets → Watch New Rows
Configure the spreadsheet and worksheet you want Make to monitor.
Step 6: Add an Action
After setting up the trigger, add an action.
For example:
Google Sheets → Gmail
The workflow could become:
New Spreadsheet Row → Send Email
The action determines what Make should do after the trigger occurs.
Step 7: Map Your Data
Data mapping allows information from the trigger to be inserted into the next module.
For example, if your spreadsheet contains:
Name
Email
Company
You can map:
Name → Customer Name
Email → Recipient Email
Company → Email Content
This allows information to move automatically between applications.
Step 8: Add a Filter
Filters allow you to control which information should continue through the workflow.
For example:
New Lead → Check Lead Status → Send Email
You could configure the filter to continue only when:
Status = New
This prevents the automation from acting on every record.
Step 9: Add More Actions
Make allows you to add multiple actions to the same scenario.
For example:
New Lead
↓
Add to CRM
↓
Send Welcome Email
↓
Create Sales Task
↓
Notify Sales Team
This makes Make useful for multi-step business processes.
Step 10: Use a Router
If different types of information require different actions, add a router.
For example:
New Customer
↓
Router
→ New Customer → Marketing Workflow
→ Existing Customer → Support Workflow
→ High-Value Customer → Sales Workflow
Routers help create different paths within the same scenario.
Step 11: Test Your Automation
Before activating the scenario, run a test.
Check that:
The trigger works correctly
Data is being received
Fields are mapped correctly
Filters work as expected
Actions are completed
No duplicate actions occur
Testing is especially important when automating important business processes.
Step 12: Check the Execution
Review the scenario execution after testing.
Make shows the steps that were executed and the information passed between modules.
If an error occurs, identify the module responsible and correct its configuration.
Step 13: Set the Schedule
Depending on your trigger, configure how often the scenario should run.
Some workflows can run on a schedule, while event-based workflows can use triggers or webhooks when supported.
Choose a schedule that matches how frequently your business needs the information processed.
Step 14: Activate the Scenario
Once everything works correctly, activate your scenario.
Your workflow can now run automatically based on the configured trigger and schedule.
For example:
New Lead → Make → CRM → Email → Notification
can operate without manually completing every step.
Example: Lead Generation Automation
A simple lead workflow can look like:
Website Form
↓
Make
↓
CRM
↓
Email Marketing
↓
Sales Notification
When a visitor submits a form, Make can transfer the information to the appropriate systems and trigger the next actions.
Example: Ecommerce Automation
An ecommerce workflow could be:
New Order → Check Order Value → Update CRM → Notify Team
You can use filters to identify high-value orders and route them to a different process.
Example: AI Automation
Make can also be used to include AI in workflows.
For example:
Customer Message → AI Analysis → Classify Request → Route to Team
AI can help classify, summarize, analyze, or transform information before the workflow continues. Make supports AI applications and AI Agents for building more advanced AI-powered automations.
Best Practices
Start With a Simple Workflow
Begin with one trigger and one action before creating complicated scenarios.
Use Filters
Filters prevent unnecessary actions and give you greater control over the workflow.
Test Before Activation
Always test your scenario with appropriate data.
Monitor Errors
Regularly check failed executions and fix problems quickly.
Avoid Duplicate Automations
Make sure multiple scenarios aren’t accidentally performing the same task.
Protect Your Data
Only transfer the information that is necessary for the workflow and use appropriate permissions.
Common Mistakes
Choosing the wrong trigger
Mapping incorrect fields
Forgetting filters
Skipping testing
Creating duplicate workflows
Using unnecessary modules
Ignoring failed executions
Building overly complex scenarios too early
Not monitoring credit usage
Final Verdict
Make is relatively easy to start with when you begin with a simple automation, while its advanced features allow you to build much more sophisticated workflows as your requirements grow.
The basic process is:
Choose Trigger → Connect App → Map Data → Add Action → Test → Activate
Once you understand these fundamentals, you can add filters, routers, webhooks, APIs, AI tools, and AI Agents to create more advanced business automations.