How-to
How to Use Runpod: A Step-by-Step Guide for AI GPU Computing
Deals Stacks
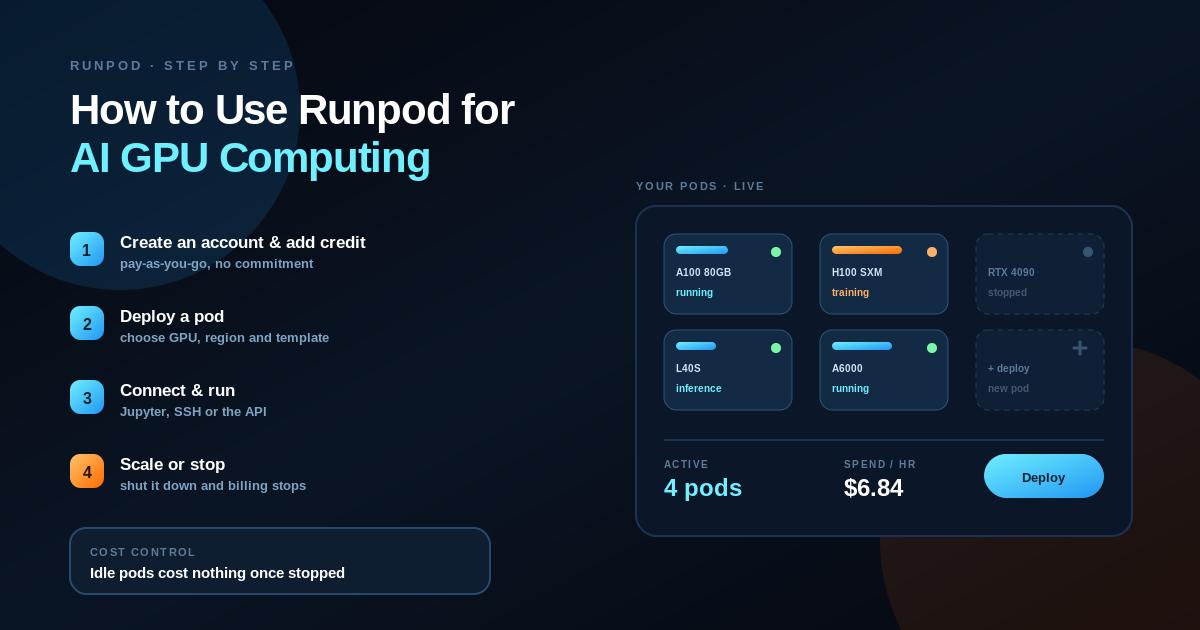
How to Use Runpod
Runpod is an AI-focused cloud platform that provides on-demand GPU infrastructure for developers, researchers, startups, and businesses. You can use it to run AI models, train and fine-tune models, generate images and videos, and build AI applications without purchasing physical GPU hardware.
This guide explains how to use Runpod from creating an account to deploying a GPU workload and managing your resources.
Step 1: Create a Runpod Account
Visit Runpod and create an account.
After signing in, you’ll access the Runpod dashboard, where you can manage your Pods, GPUs, storage, Serverless endpoints, and other resources.
Step 2: Add Credits
Runpod uses usage-based pricing for its cloud infrastructure.
Add credits to your account before starting a workload when required. The amount you spend depends on the GPU, storage, and how long your resources remain active.
Check the current pricing before selecting a GPU because prices and availability can change.
Step 3: Choose the Right GPU
Select a GPU according to your AI workload.
Runpod offers a wide range of GPUs, including NVIDIA RTX GPUs and data-center GPUs such as the A100, H100, H200, B200, and B300.
Consider:
VRAM requirements
Model size
Processing requirements
Expected runtime
Budget
GPU availability
Don’t automatically select the most powerful GPU. Choose one that provides enough performance and memory for your specific workload.
Step 4: Create a Pod
Runpod Pods provide GPU or CPU environments where you can run your own applications and AI workloads.
Create a new Pod and select the GPU you want.
You can configure the environment, storage, networking, and other options before deploying it.
Step 5: Choose a Template
A template provides a preconfigured environment for a particular workload.
Depending on your requirements, you can choose environments for:
AI development
Machine learning
Jupyter
ComfyUI
Model inference
Other AI applications
Using a suitable template can save time compared with manually installing every dependency.
Step 6: Configure Storage
Choose the storage required for your workload.
AI models and datasets can be large, so make sure you have enough space for:
Models
Datasets
Checkpoints
Generated files
Application files
Runpod provides persistent storage options that can keep data available independently of a specific compute instance.
Step 7: Deploy the Pod
Review the GPU, template, storage, and other settings.
Then deploy your Pod.
Once it is running, you can access your environment and start configuring your AI workload.
Step 8: Access Your Environment
Runpod allows you to work with your Pod using different methods, including:
JupyterLab
SSH
VS Code
Web-based applications
Configured endpoints
JupyterLab is useful if you want to work with Python notebooks directly in your browser.
Step 9: Install Your AI Model
After connecting to your Pod, install or download the AI model you want to use.
The exact process depends on the model and framework.
A general workflow is:
Download Model → Install Dependencies → Configure Environment → Load Model → Run
Make sure the model is compatible with your selected GPU and available VRAM.
Step 10: Run Your Workload
You can now use your GPU for tasks such as:
AI inference
Model training
Fine-tuning
Image generation
Video generation
Speech processing
AI development
Runpod gives you control over the environment, allowing you to use the frameworks and applications required for your project.
Step 11: Monitor GPU Usage
While your workload is running, monitor your resources.
Pay attention to:
GPU utilization
VRAM
CPU usage
Storage
Runtime
Application logs
If your GPU utilization is consistently low, you may be able to use a smaller or less expensive configuration.
Step 12: Save Your Work
Before stopping your Pod, make sure important files are stored in persistent storage or another reliable location.
Save:
Model checkpoints
Datasets
Generated files
Code
Configuration
Results
This helps prevent losing important work when compute resources are stopped or removed.
Step 13: Stop the Pod
When you’re finished, stop or terminate the compute resource according to your needs.
This is important because GPU resources are usage-based. Leaving a GPU running when it isn’t needed can increase your costs.
Step 14: Use Runpod Serverless
If you are building an AI application that receives requests from users, Runpod Serverless may be more suitable than keeping a Pod running continuously.
Serverless can automatically scale workers based on demand.
A typical workflow is:
User → Application → API → Runpod Serverless → GPU Worker → AI Model → Response
Runpod positions Serverless for scalable AI inference and production workloads.
Step 15: Create a Serverless Endpoint
Create a Serverless endpoint and configure the required model or worker.
Depending on your workload, you can configure:
GPU type
Worker limits
Scaling
Container image
Environment variables
Request settings
The exact configuration depends on the application you’re deploying.
Step 16: Connect Your Application
Once the endpoint is configured, your application can communicate with Runpod through its API.
For example:
Website → API Request → Runpod → AI Model → API Response
This allows you to integrate GPU-powered AI into websites, SaaS products, mobile applications, and internal tools.
Runpod provides API documentation for managing its infrastructure and services.
Example: Run an Image Generation Application
A basic image-generation workflow can look like:
User Prompt
↓
Your Website
↓
Runpod API
↓
GPU Worker
↓
Image Model
↓
Generated Image
You can use this approach to build your own AI image-generation application.
Example: Run an AI Model
For a model-powered application:
User Input → Your Application → Runpod → AI Model → Response
Runpod handles the GPU infrastructure while your application handles the user interface and business logic.
Example: Train a Model
For training:
Dataset → Runpod GPU → Training → Checkpoint → Evaluation → Final Model
For larger distributed training workloads, Runpod also provides Cluster infrastructure.
How to Reduce Runpod Costs
Choose the Correct GPU
Use a GPU that meets your requirements without unnecessarily paying for excess performance.
Stop Idle Resources
Don’t leave unused GPUs running.
Use Serverless When Appropriate
For workloads with unpredictable demand, Serverless can help scale resources based on requests.
Monitor Runtime
Keep track of how long your GPU is active.
Use Persistent Storage
Store important files separately from temporary compute resources where appropriate.
Common Runpod Mistakes
Choosing an unsuitable GPU
Not checking VRAM requirements
Leaving Pods running unnecessarily
Not using persistent storage
Forgetting to save model checkpoints
Skipping workload testing
Ignoring GPU utilization
Not monitoring costs
Using a complex setup when a template would work
Final Verdict
Using Runpod starts with a simple process:
Create Account → Add Credits → Choose GPU → Deploy Pod → Configure Environment → Run AI Workload → Save Data → Stop Resources
Once you understand Pods, you can move to Serverless for scalable AI inference or Clusters for larger multi-GPU workloads.
Runpod is particularly useful when you need flexible GPU access for AI development, model training, inference, image generation, video generation, and other compute-intensive applications.


