Tutorial
Restream Tutorial: How to Set Up and Start Your First Multistream
Deals Stacks
Restream Tutorial: How to Set Up and Start Your First Multistream
If you’re new to live streaming, managing several platforms at the same time can seem complicated. You may need to connect YouTube, Facebook, Twitch, LinkedIn, or other destinations while also managing your camera, microphone, guests, graphics, and audience comments.
Restream simplifies this process by allowing you to manage your live broadcast from one platform.
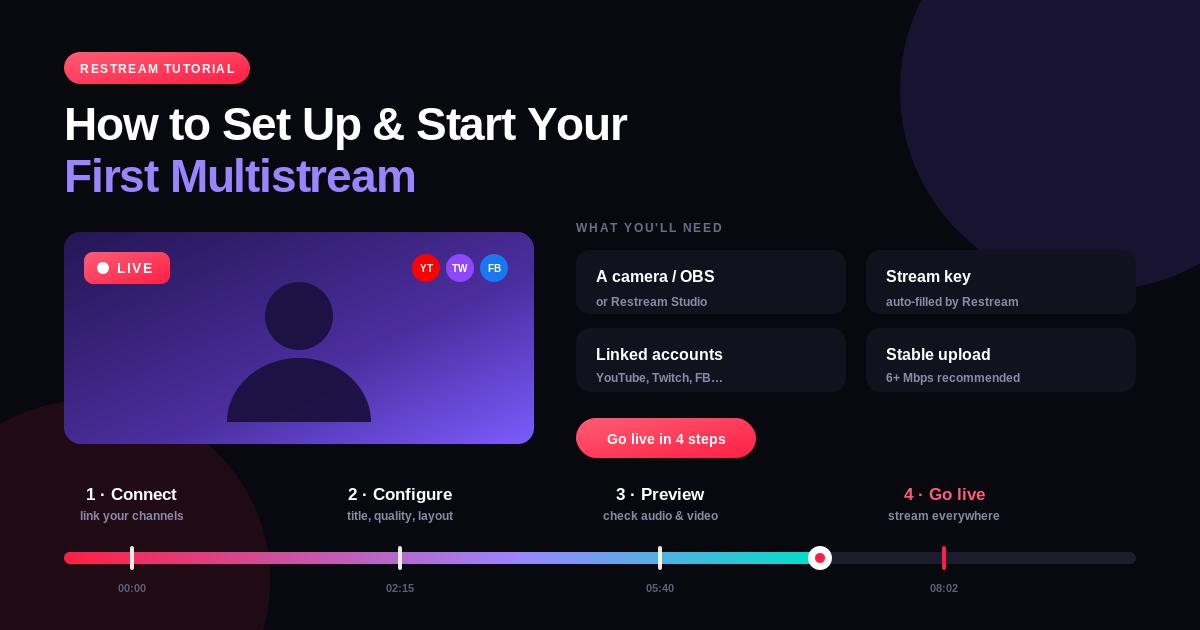
In this beginner-friendly tutorial, you’ll learn how to set up Restream, connect your streaming channels, configure Restream Studio, invite guests, customize your broadcast, and start your first multistream.
Step 1: Create Your Restream Account
Start by creating a Restream account.
After signing in, you’ll reach the Restream dashboard. This is where you can manage your streaming channels, broadcasts, recordings, and other settings.
Before starting your first broadcast, complete your profile and basic account setup.
Step 2: Connect Your Streaming Platforms
The next step is connecting the platforms where you want your stream to appear.
Depending on your needs, you can connect destinations such as:
YouTube
Facebook
Twitch
LinkedIn
X
Custom RTMP destinations
Go to your streaming channels or destinations section and connect the accounts you want to use.
Make sure you have the required permissions for each platform.
Step 3: Choose Your Streaming Method
Restream provides different ways to broadcast.
For beginners, Restream Studio is usually the easiest option because it works directly in your browser.
You can also use external streaming software with Restream when you need more advanced production capabilities.
For your first stream, Studio is a simple place to start.
Step 4: Open Restream Studio
Open Restream Studio and allow access to your:
Camera
Microphone
Before entering the broadcast, check that the correct camera and microphone are selected.
Do a quick audio test.
Your microphone quality is especially important because viewers are more likely to tolerate average video quality than poor audio.
Step 5: Add Your Stream Information
Create your broadcast information.
Depending on the destination, you may need to add:
Stream title
Description
Category
Thumbnail
Privacy settings
Use a clear title that tells viewers exactly what the stream is about.
For example:
“How to Build a Social Media Marketing Strategy in 2026”
is better than:
“Live Session #4.”
Step 6: Customize Your Studio
Now customize the appearance of your broadcast.
You can work with elements such as:
Backgrounds
Logos
Graphics
Layouts
Text
Overlays
Keep the design clean. Too many visual elements can distract viewers from the main content.
Step 7: Add a Guest
If you’re hosting an interview or podcast, you can invite a guest.
Copy the guest invitation link and send it to your guest.
When the guest joins:
Check their camera.
Check their microphone.
Confirm their internet connection.
Position them correctly.
Add them to the broadcast when you’re ready.
Always test guests before going live.
Step 8: Share Your Screen
If your stream includes a tutorial or presentation, use screen sharing.
Screen sharing is useful for:
Software demonstrations
Presentations
Tutorials
Online classes
Product demonstrations
Before sharing your screen, close private tabs, notifications, and unrelated applications.
Step 9: Manage Live Chat
Restream can bring audience comments into the Studio environment.
During your broadcast, you can monitor comments and respond to viewers.
For example:
Viewer: “Can you explain that step again?”
You can answer directly while continuing the broadcast.
This makes the livestream more interactive.
Step 10: Test Everything Before Going Live
Before clicking the live button, run through a quick checklist:
Camera working
Microphone working
Internet connection stable
Correct streaming destinations connected
Stream title correct
Graphics positioned correctly
Guest ready
Screen sharing working
Notifications disabled
A few minutes of testing can prevent major problems during the broadcast.
Step 11: Start Your Multistream
Once everything is ready, start the broadcast.
Your stream can then be distributed to the connected destinations according to your Restream setup.
Monitor your Studio dashboard while broadcasting.
Keep an eye on:
Stream status
Audio
Video
Comments
Guest connections
Step 12: Interact With Your Audience
Don’t treat a livestream like a recorded video.
Talk to your audience.
You can:
Answer questions
Mention viewers by name
Ask questions
Run polls when supported
Respond to comments
Encourage viewers to follow your channels
Audience interaction can make a broadcast feel more personal.
Step 13: End the Broadcast
When you’re ready to finish, give your audience a short closing message.
For example:
“Thanks for joining today’s stream. If you found this useful, follow the channel and join us for the next session.”
Then end the broadcast from Restream Studio.
Step 14: Review Your Recording
After the broadcast, review the recording if one was created.
Look for:
Audio problems
Long pauses
Technical issues
Strong moments
Frequently asked questions
The recording can become useful content for future marketing.
Step 15: Repurpose Your Livestream
One livestream can become several pieces of content.
For example:
1 livestream → 1 full video → 5 short clips → 3 social posts → 1 blog article
You can take the best moments from your broadcast and use them on other channels.
This makes your live content more valuable over time.
Example Restream Workflow
A simple beginner workflow looks like this:
Create Restream account
↓
Connect YouTube + Facebook + LinkedIn
↓
Open Restream Studio
↓
Check camera and microphone
↓
Add branding
↓
Invite guest
↓
Test everything
↓
Start multistream
↓
Engage with viewers
↓
End broadcast
↓
Review recording and analytics
Tips for Your First Restream Stream
Keep Your First Stream Simple
Don’t try to use every feature immediately.
Start with:
Camera + microphone + one or two platforms.
Test Your Audio
Clear audio should be one of your highest priorities.
Prepare an Outline
A simple outline prevents awkward pauses and helps you stay focused.
Don’t Ignore Comments
Audience interaction is one of the biggest benefits of live streaming.
Promote Before Going Live
Tell your audience about the stream before it starts.
Repurpose the Recording
Turn your livestream into additional content after the broadcast.
Common Beginner Mistakes
Connecting Too Many Platforms
Start with a manageable number of destinations.
Not Testing the Microphone
Always check audio before going live.
Sharing the Wrong Screen
Close private tabs and notifications before screen sharing.
Forgetting to Check the Guest
Make sure guests test their camera and microphone before the broadcast.
Ignoring Audience Comments
Live streaming works best when viewers feel involved.
Ending Without a Call to Action
Tell viewers what they should do next, such as subscribe, follow, visit your website, or join the next event.
Frequently Asked Questions
Is Restream easy for beginners?
Yes. Restream Studio provides a browser-based workflow that makes it relatively simple to start live streaming without complicated production software.
Can I stream to multiple platforms with Restream?
Yes. Multistreaming is one of Restream’s main features.
Can I invite guests?
Yes. Restream Studio supports guest participation, making it suitable for interviews, podcasts, and panel discussions.
Can I share my screen?
Yes. Screen sharing can be used for tutorials, presentations, demonstrations, and online classes.
Can I interact with viewers?
Yes. Restream provides chat features that help broadcasters monitor and interact with audience comments.
Conclusion
Restream makes multistreaming easier by bringing your live production and multiple streaming destinations into one workflow.
For beginners, the best way to learn is to start small. Connect a few platforms, test your camera and microphone, set up Restream Studio, invite a guest if needed, and run a short test broadcast before your main event.
Once you’re comfortable, you can add more destinations, improve your branding, use advanced production features, and turn your livestream recordings into additional content.
With a little preparation, Restream can make live streaming more organized, professional, and easier to manage across multiple platforms.