Tutorial
How to Use Webflow: A Complete Tutorial for Building and Publishing a Website
Deals Stacks
How to Use Webflow: A Complete Tutorial for Building and Publishing a Website
Webflow is a visual website-building platform that allows users to design, build, manage, and publish websites without depending entirely on traditional coding.
It combines a visual Designer with responsive layouts, CMS functionality, interactions and animations, SEO controls, hosting, and publishing tools. This makes Webflow useful for businesses, designers, marketers, agencies, freelancers, and creators who want more control over their website than a basic drag-and-drop builder provides.
In this tutorial, you’ll learn how to use Webflow from the beginning—from creating your website and designing pages to adding CMS content, optimizing SEO, testing responsiveness, and publishing your finished site.
Step 1: Create a Webflow Account
Start by creating your Webflow account and signing in.
Once you’re inside the Webflow dashboard, you can create a new website or open an existing project.
Before beginning, decide what type of website you’re building.
For example:
Business website
Portfolio
Blog
Landing page
Agency website
Ecommerce website
SaaS website
Online publication
Having a clear purpose will make your design decisions easier.
Step 2: Create a New Webflow Site
Create a new Webflow site from your workspace.
You can start with a blank project or use an appropriate template.
If you’re new to Webflow, starting with a template can help you understand how professional layouts are structured.
If you already have a specific design system, a blank project gives you more control.
Step 3: Understand the Webflow Designer
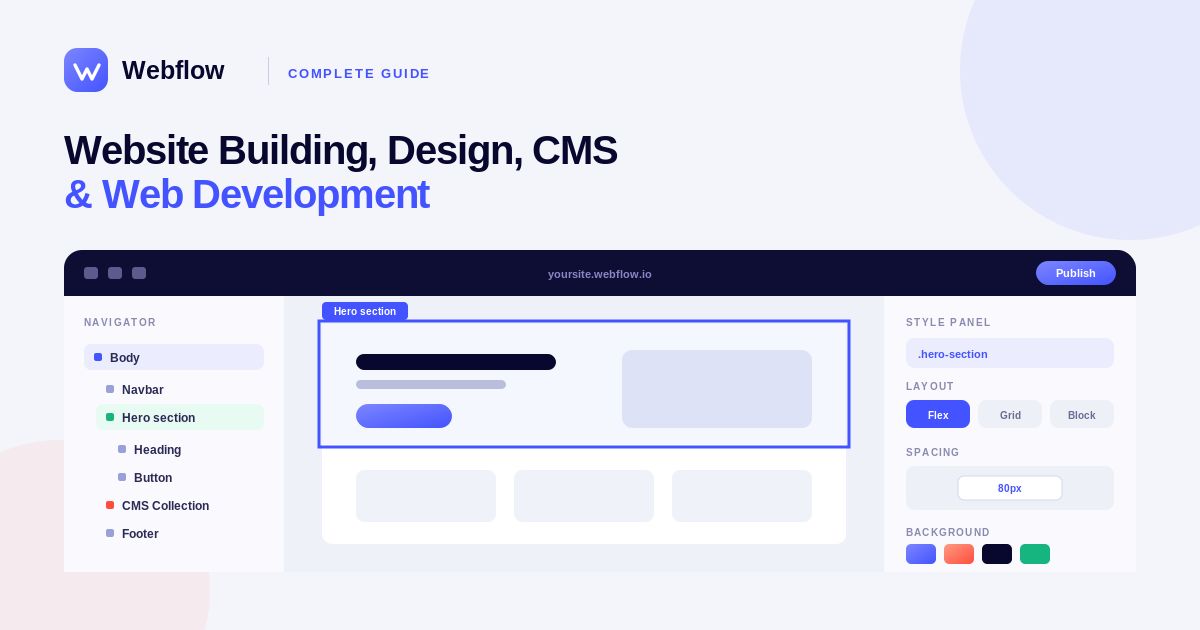
The Webflow Designer is the main workspace where you’ll build your website.
You’ll commonly work with:
Canvas → Navigator → Add Panel → Style Panel → Settings → Interactions
The canvas shows your website.
The Navigator helps you understand the structure of your page.
The Add panel contains elements that you can place on the page.
The Style panel controls layout and appearance.
The Interactions panel lets you create animations and dynamic interactions.
Step 4: Plan Your Website Structure
Before designing every page, create a simple sitemap.
For a business website, you might have:
Home
About
Services
Blog
Contact
For a SaaS website, you could use:
Home → Features → Pricing → Resources → Blog → Contact
Planning the structure first makes the development process much easier.
Step 5: Add Your First Section
Open the page you want to design and add a section.
A section can contain:
Container
Heading
Paragraph
Image
Button
Cards
Columns
Other elements
For example, a homepage hero section could contain:
Headline
Supporting text
Primary CTA
Secondary CTA
Product image
Keep the first section focused on the most important message.
Step 6: Understand Containers and Layouts
Containers help keep your website content organized and readable.
You can use Webflow’s layout tools to control:
Width
Height
Padding
Margin
Alignment
Position
Flexbox
Grid
For modern responsive layouts, Flexbox and CSS Grid are particularly useful.
A typical structure could be:
Section → Container → Grid → Content
This helps create consistent page layouts.
Step 7: Add Headings and Text
Add headings and paragraphs to communicate your content.
Use a logical heading hierarchy.
For example:
H1 → Main Page Heading
H2 → Major Section
H3 → Subsection
Don’t use heading levels simply because they look visually appealing.
Keep the structure meaningful for users and search engines.
Step 8: Add Images
Use the Image element to add images to your website.
Choose images that are:
High quality
Relevant
Properly sized
Optimized for web performance
For product websites, this might include:
Product screenshots
Team photos
Illustrations
Feature graphics
Customer images
Add meaningful alternative text where appropriate.
Step 9: Add Buttons and Links
Add buttons to important actions.
Examples include:
Get Started
Contact Us
Learn More
View Pricing
Book a Demo
Start Free Trial
Connect each button to the correct page, section, or external destination.
Your CTA should clearly tell visitors what happens next.
Step 10: Create a Navigation Bar
Build a navigation menu that helps visitors move around your website.
A basic structure could be:
Logo → Home → Features → Pricing → Blog → Contact → CTA
Keep navigation simple.
If your website has many pages, consider grouping related pages into dropdown menus.
Step 11: Create a Footer
The footer usually appears on every major page.
It can contain:
Logo
Short description
Navigation
Contact information
Social links
Privacy Policy
Terms
Copyright information
A well-organized footer gives visitors another way to navigate your website.
Step 12: Create Reusable Classes
Webflow uses classes to control styling.
Instead of styling every element individually, create reusable classes.
For example:
Button Primary
Button Secondary
Section
Container
Heading Large
Card
This helps maintain consistency throughout the website.
If you later change a shared class, you can update multiple elements more efficiently.
Step 13: Build a Consistent Design System
Choose your core visual system before creating dozens of pages.
Define:
Primary colors
Secondary colors
Typography
Button styles
Spacing
Border radius
Shadows
Section layouts
A consistent design system makes a website look more professional.
Step 14: Create Responsive Designs
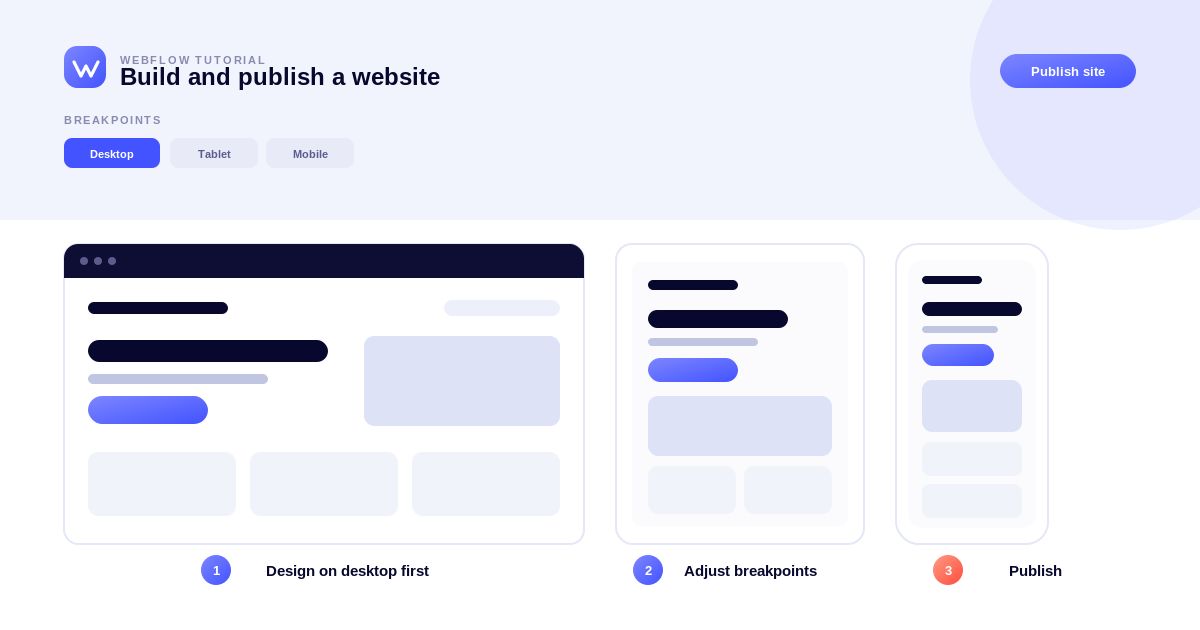
One of Webflow’s most important capabilities is responsive design.
Your website should work across:
Desktop
Tablet
Mobile landscape
Mobile portrait
Check each breakpoint while building your website.
Don’t wait until the end to make the site responsive.
Step 15: Adjust Mobile Layouts
A desktop layout may not automatically look perfect on a phone.
On smaller screens, you may need to change:
Font sizes
Padding
Margins
Grid columns
Flex direction
Image sizes
Navigation
Button width
For example:
Desktop: 3-column cards
Mobile: 1-column cards
This creates a better mobile experience.
Step 16: Create Multiple Pages
Once your homepage is complete, create additional pages.
For example:
About Page
Explain your company or organization.
Services Page
Explain what you offer.
Contact Page
Provide contact information and a form.
Pricing Page
Explain plans and pricing.
Blog
Publish educational or marketing content.
Maintain the same design system across all pages.
Step 17: Create a CMS Collection
Webflow CMS is useful when your website contains content that follows a repeated structure.
Examples include:
Blog posts
Authors
Products
Case studies
Team members
Events
Resources
Create a CMS Collection with the fields your content requires.
For a blog, fields could include:
Title
Slug
Featured Image
Author
Date
Category
Excerpt
Content
Step 18: Add CMS Items
Once your Collection is created, add content items.
For a blog, each item could contain:
Title → Author → Category → Featured Image → Article Content
CMS content allows you to manage many similar pages without manually designing each one from scratch.
Step 19: Design a CMS Template
Create the template page for your CMS Collection.
For example, a blog template can contain:
Featured Image
↓
Article Title
↓
Author + Date
↓
Article Content
↓
Related Articles
Once the template is designed, Webflow can generate individual CMS pages using your collection data.
Step 20: Add Categories and Filters
If your website has a large amount of content, organize it using categories or other CMS fields.
For example:
Guide
Comparison
Tutorial
News
How-To
This can make your content easier to browse.
You can also create collection lists to display related content.
Step 21: Add Forms
Webflow provides form elements for collecting visitor information.
Forms can be used for:
Contact requests
Newsletter subscriptions
Demo requests
Lead generation
Feedback
Keep forms short and only request information you actually need.
Step 22: Configure Form Notifications
Set up appropriate notifications for form submissions.
For example:
Visitor Submits Form → Submission Received → Team Notified
Test the form before publishing your website.
Step 23: Add Interactions and Animations
Webflow allows you to create interactions and animations without writing all the animation code manually.
You can create effects such as:
Fade-ins
Slide animations
Hover effects
Scroll animations
Button interactions
Navigation animations
Use animations carefully.
The goal should be to improve the user experience rather than make the website distracting.
Step 24: Create Hover Effects
Hover effects can make buttons, cards, and navigation elements feel more interactive.
For example:
Button → Hover → Visual Change
You might adjust:
Background
Text
Border
Shadow
Scale
Keep hover effects subtle and consistent.
Step 25: Optimize Website Images
Large images can slow down your website.
Before uploading images:
Use appropriate dimensions
Compress large files
Choose suitable formats
Avoid unnecessary high-resolution images
Also add descriptive alt text where the image conveys meaningful information.
Step 26: Configure SEO Settings
Webflow provides controls for optimizing your pages for search engines.
For important pages, configure:
SEO title
Meta description
URL slug
Open Graph information
Indexing settings where appropriate
Use a clear SEO title that accurately describes the page.
Step 27: Optimize Page Titles
Every important page should have a meaningful title.
For example:
Webflow Tutorial: How to Build a Website
is more useful than:
Home Page
A strong title should accurately communicate the page’s purpose.
Step 28: Write Meta Descriptions
Create concise meta descriptions that explain what users can expect from the page.
For example:
Learn how to build a responsive website with Webflow, create CMS content, optimize SEO, add interactions, and publish your site.
Avoid stuffing the description with keywords.
Step 29: Create SEO-Friendly URLs
Keep your URLs short and descriptive.
For example:
/webflow-tutorial
is generally clearer than:
/page123-final-new-version
Use meaningful slugs for CMS content as well.
Step 30: Add Custom Domains
Once your website is ready, connect your custom domain.
A branded domain can make your website look more professional.
Before switching your domain, make sure your DNS settings are configured correctly according to Webflow’s current instructions.
Step 31: Preview Your Website
Before publishing, preview every important page.
Check:
Navigation
Buttons
Forms
Images
Animations
CMS content
Links
Mobile layout
Fix errors before making the site public.
Step 32: Test Every Breakpoint
Review your website at different screen sizes.
Look for:
Overlapping elements
Text overflow
Broken grids
Incorrect spacing
Images extending outside containers
Mobile navigation problems
Responsive testing should be part of the normal Webflow workflow.
Step 33: Check Website Accessibility
Make your website usable for as many visitors as possible.
Pay attention to:
Text readability
Color contrast
Image alt text
Logical headings
Keyboard navigation
Clear buttons
Form labels
Accessibility is both a usability and quality consideration.
Step 34: Check Website Performance
Before launch, review website performance.
Optimize:
Images
Fonts
Animations
Unnecessary scripts
Large assets
A fast website generally provides a better user experience.
Step 35: Publish Your Website
Once your website is ready, use Webflow’s publishing tools to make it available online.
You can publish to a Webflow-provided domain or connect a custom domain depending on your setup and plan.
The basic process is:
Design → Test → SEO → Domain → Publish
Step 36: Monitor Your Website
After publishing, continue checking your website.
Look for:
Broken links
Form submissions
CMS errors
Mobile issues
SEO problems
Performance issues
A website should be treated as an ongoing project rather than something you build once and forget.
Common Webflow Mistakes to Avoid
Using Too Many Unique Classes
Create reusable styles whenever possible.
Ignoring Mobile Design
Always check smaller screen sizes.
Overusing Animations
Too many animations can distract visitors and affect performance.
Uploading Huge Images
Optimize images before uploading them.
Poor Heading Structure
Use headings logically.
Publishing Without Testing
Check every important user journey before launch.
Creating an Inconsistent Design
Use a consistent typography, spacing, and component system.
Best Practices for Webflow
Plan Before Designing
Create a sitemap and content structure first.
Use Reusable Classes
This makes your website easier to maintain.
Design Mobile-First in Your Thinking
Consider how every section will behave on smaller screens.
Keep Navigation Simple
Visitors should quickly understand where to go.
Optimize Images
Balance quality with performance.
Use CMS for Repeated Content
Don’t manually create hundreds of similar pages.
Test Before Publishing
Review desktop, tablet, and mobile layouts.
Update Content Regularly
Fresh content can improve the usefulness of your website and support your SEO strategy.
Example: Building a SaaS Website in Webflow
Suppose you’re creating a website for a SaaS product.
Your structure could be:
Home
↓
Features
↓
How It Works
↓
Pricing
↓
Customer Stories
↓
Blog
↓
Contact
The homepage might include:
Hero → Benefits → Features → Social Proof → Pricing → CTA
Then the CMS can manage:
Blog Posts + Customer Stories + Resources
This creates a scalable website structure that can grow with the business.
Final Thoughts
Webflow provides a powerful environment for designing and publishing modern websites while giving users detailed control over layouts, responsive behavior, CMS content, interactions, SEO, and visual design.
The best approach is to build your website systematically:
Plan → Design → Style → Add Content → Build CMS → Make Responsive → Add Interactions → Optimize SEO → Test → Publish
Start with the core pages, establish a consistent design system, and then expand your website with CMS collections and reusable components.
Whether you’re building a business website, portfolio, SaaS website, blog, agency site, or marketing landing page, Webflow provides the flexibility to create a professional online presence while keeping much of the development process visual.